In dieser Anleitung erklären wir Ihnen, wie Sie ein Microsoft 365 E-Mail-Konto als Exchange Konto im Outlook für iOS Geräten (iPhone und iPad) hinzufügen können.
Die Einrichtung des E-Mail-Kontos als Exchange-Konto ist relativ einfach und wird fast vollautomatisiert durchgeführt. Nach der Einrichtung stehen Ihnen alle Microsoft 365-Mailfunktionen zur Verfügung. Ihre Kontakte, Kalender und E-Mails werden anschließend automatisch synchronisiert.
- Öffnen Sie Outlook.
- Wenn Sie einen neuen Account hinzufügen möchten, springen Sie zu Schritt 4. Andernfalls tippen Sie auf das Kontomenü-Symbol in der Outlook-App für iOS und dann auf das Zahnrad-Symbol für Einstellungen.
- Tippen Sie auf Konto hinzufügen und dann auf E-Mail-Konto hinzufügen:
4. Geben Sie Ihre Microsoft 365-E-Mail-Adresse ein und tippen Sie dann auf Konto hinzufügen. Sie werden nun zu MIcrosoft umgeleitet und werden aufgefordert, das Passwort einzugeben.
Geben Sie das Passwort ein und klicken auf anmelden:

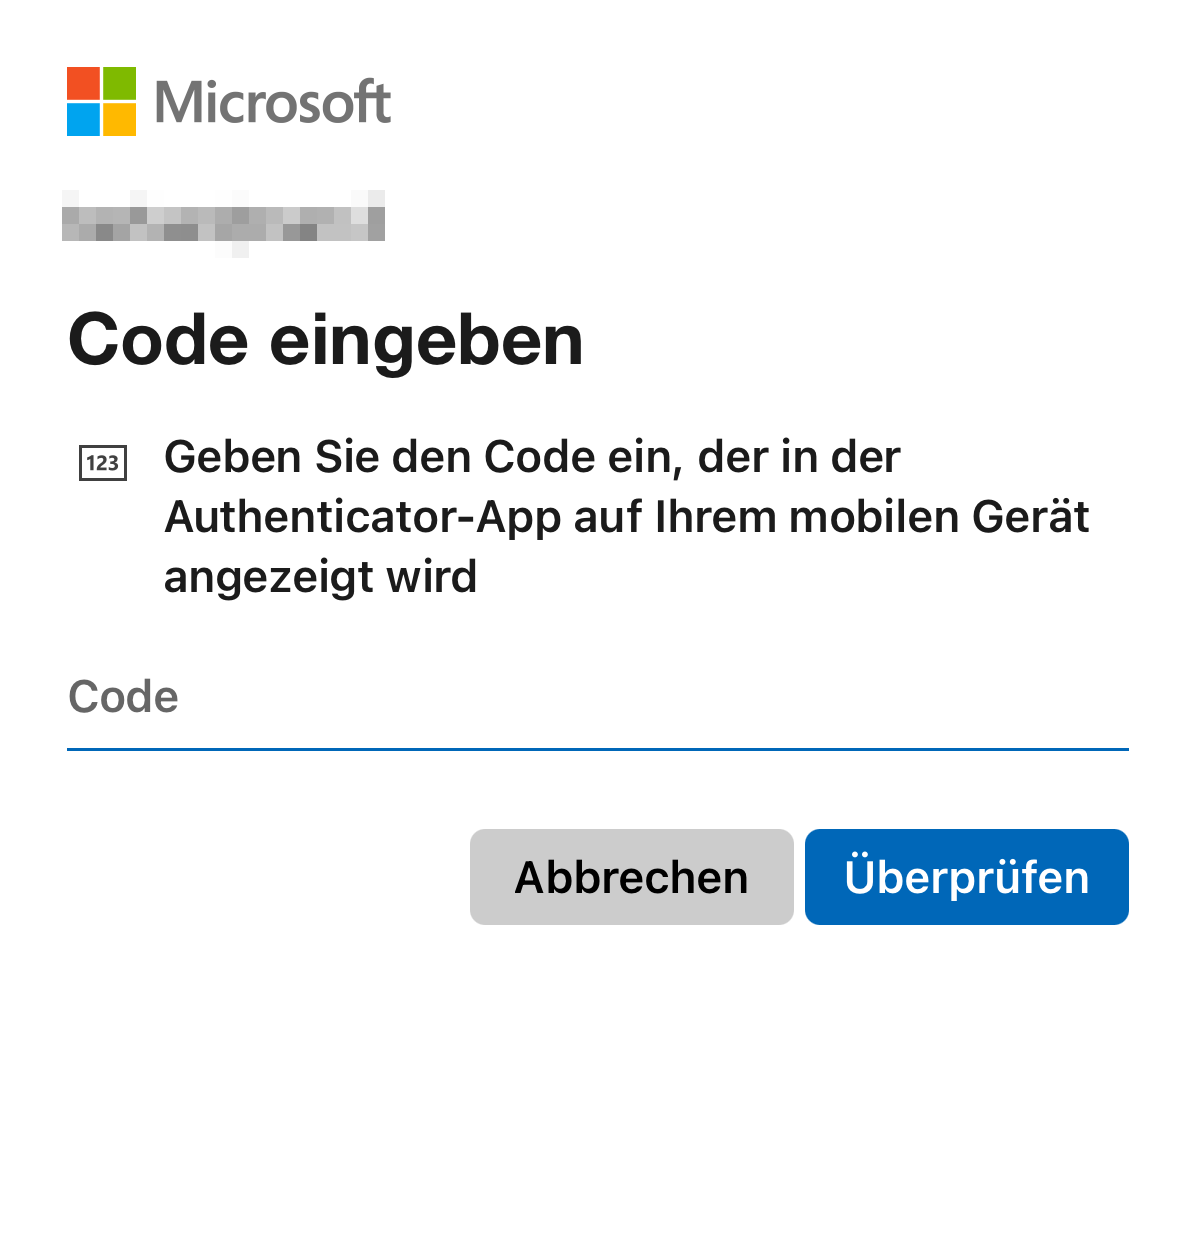
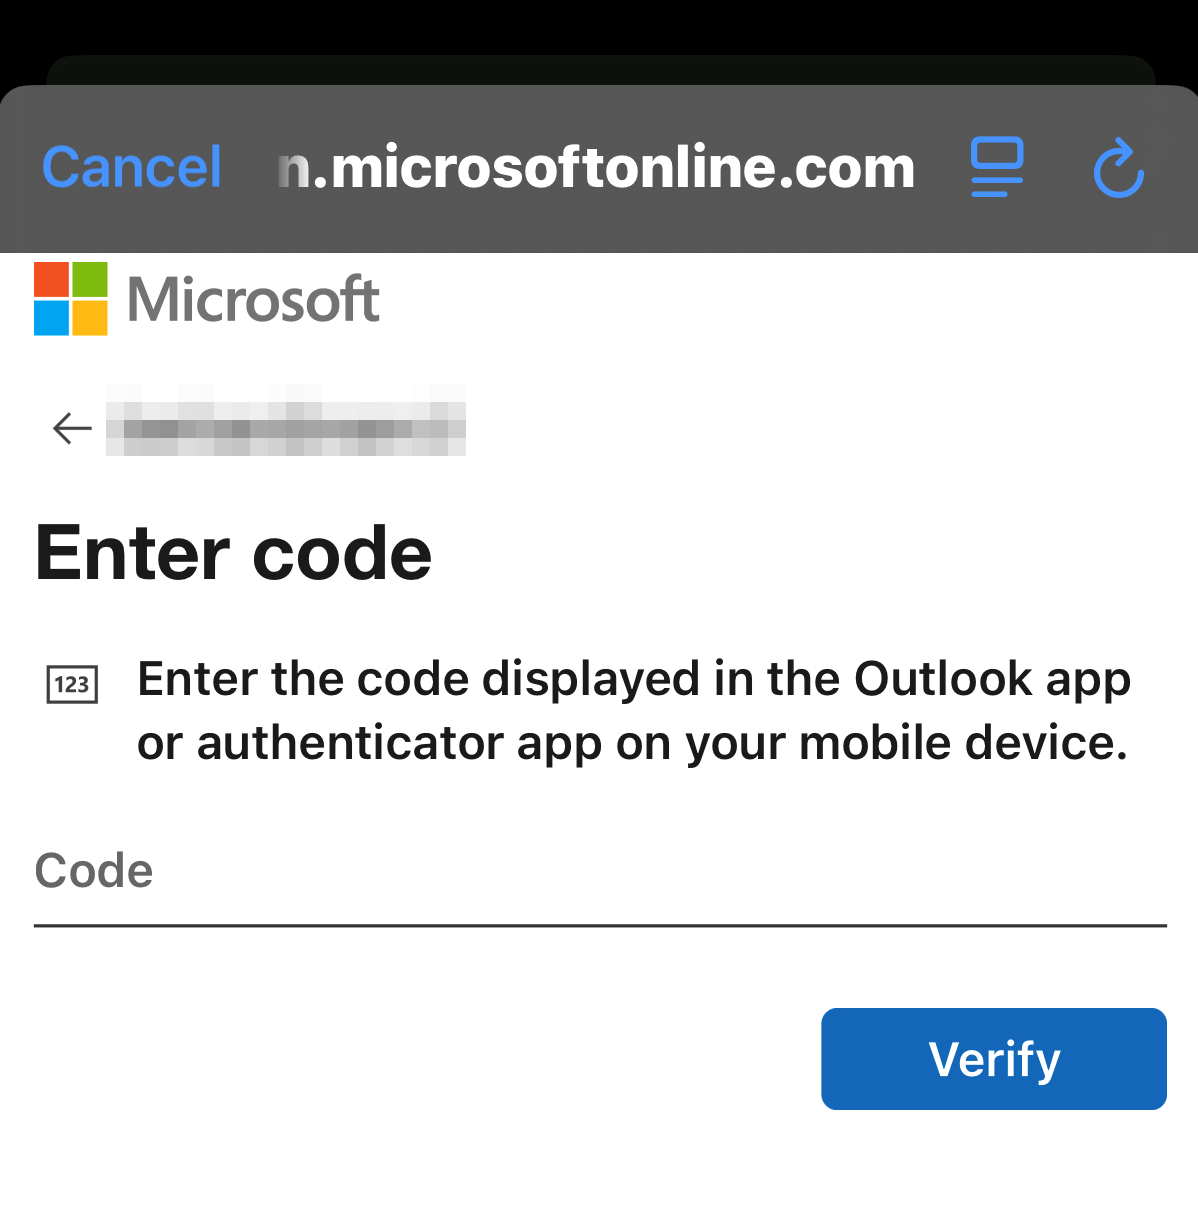
Wenn die Multi-Faktor-Authentifizierung (MFA) aktiviert ist, verifizieren Sie Ihr E-Mail-Konto, indem Sie eine Multi-Faktor-Authentifizierung einrichten. Die Einrichtung erfolgt direkt an dieser Stelle während der Einrichtung des E-Mail-Kontos im E-Mail-Programm. Falls Sie die Multi-Faktor-Authentifizierung bereits eingerichtet haben, müssen Sie an dieser Stelle nur den Code aus Ihrer Authenticator App eingeben.
Möglicherweise müssen Sie Ihren Kontotyp als „Arbeit oder Schule“ auswählen, nicht „Persönlich“, um fortzufahren.
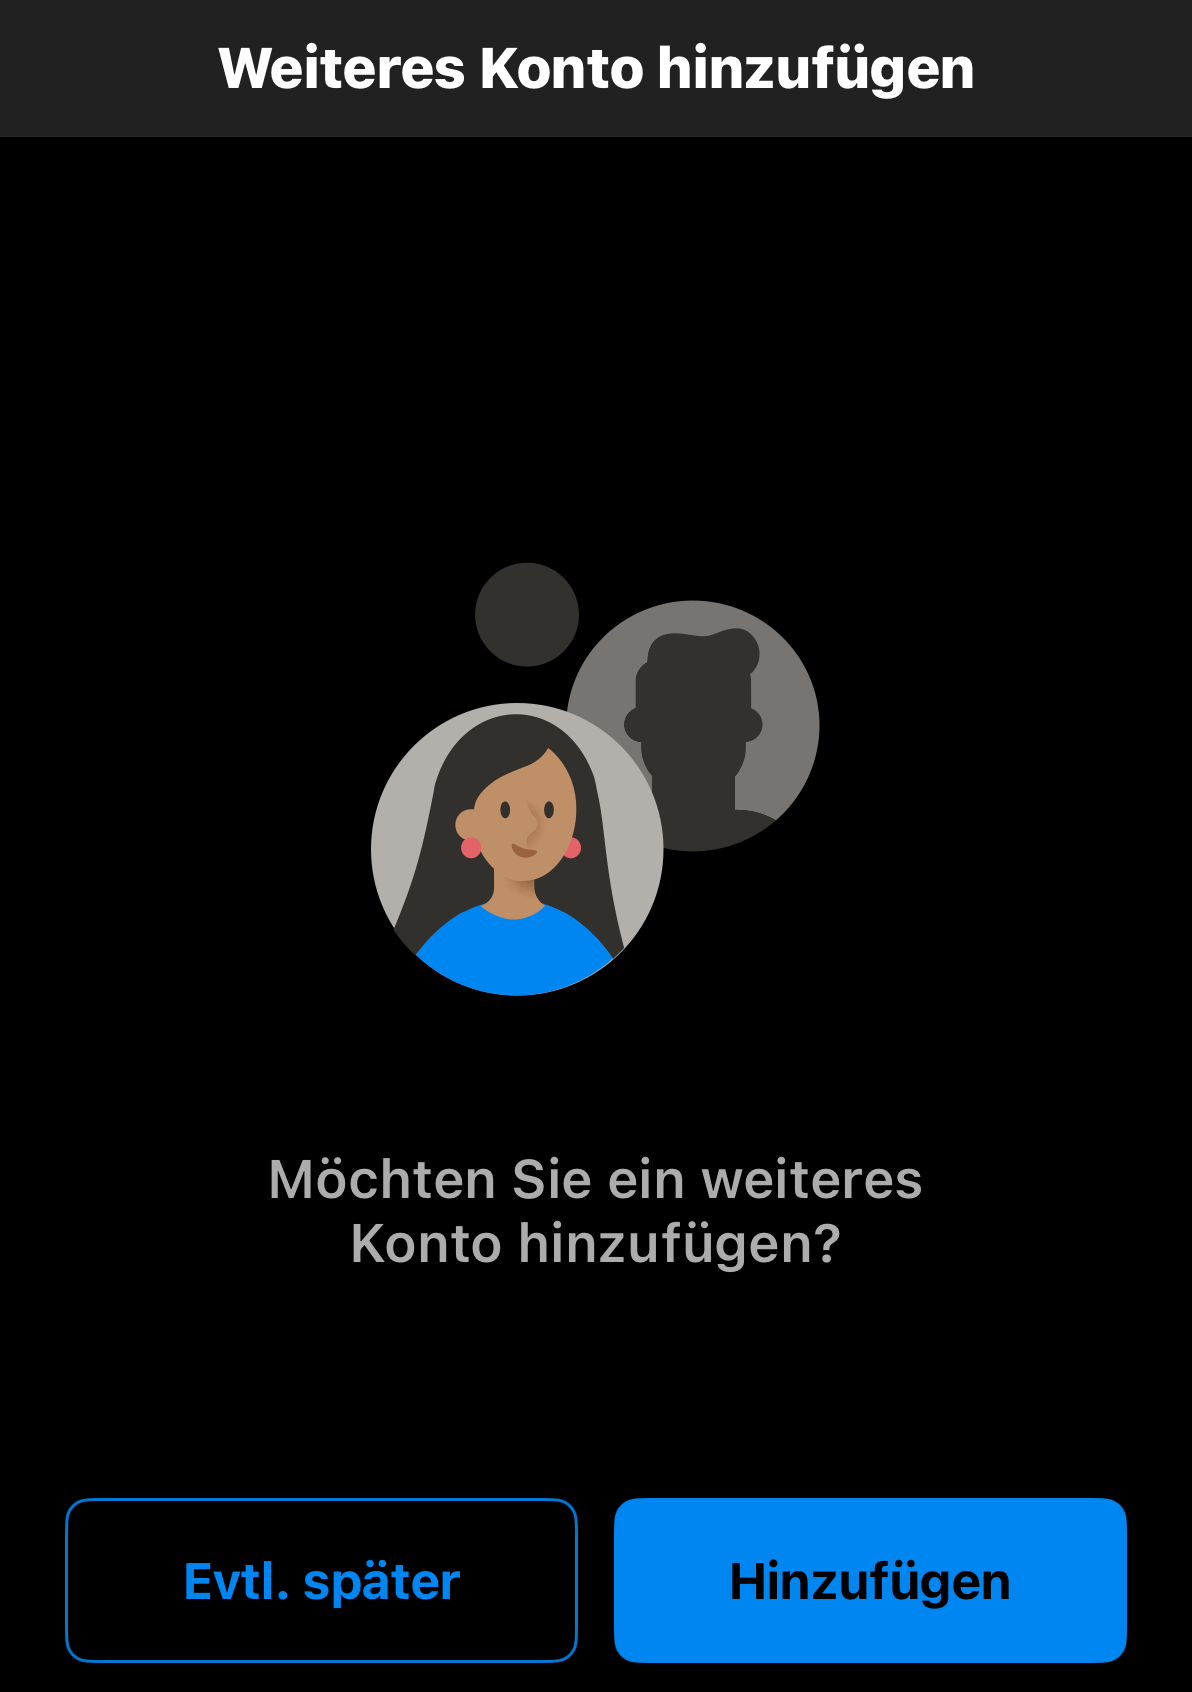
Wenn dies Ihr erstes E-Mail-Konto in Outlook für iPhone oder iPad ist, werden Sie gefragt, ob Sie ein weiteres Konto hinzufügen möchten. Um diesen Schritt zu überspringen, tippen Sie auf "Vielleicht später". Wenn dies nicht Ihr erstes Konto ist, werden Sie zurück zur Einstellungsseite geleitet:
Sie vermissen E-Mails? Überprüfen Sie bitte in den Synchronisierungseinstellungen, welcher Zeitraum synchronisiert wird. Standardmäßig werden nur E-Mails der letzten 30 Tage synchronisiert. Sie können diesen Zeitraum in den Einstellungen Ihres iPhones anpassen.
Gehen Sie dazu nochmal in die Account-Einstellungen des betroffenen Kontos und klicken unten auf "Mail synchronisieren". Auf der nächsten Seite kann der Zeitraum angepasst werden.
Ihre Microsoft 365-E-Mail ist nun in Ihrem Outlook für iPhone oder iPad eingerichtet und Sie können loslegen!
English Version:
How can I add my email account to Outlook on iOS devices (iPhone and iPad)?
In this guide we explain to you, how the previously inside the KIS created Microsoft 365 e-mail account can be added to Apple Mail on iOS devices (iPhone and iPad).
The setup of the e-mail account is relatively easy and is done almost completely automated. After the account has been set up all the Microsoft 365 e-mail functions will be available to you. Your contacts, calender and e-mails will then be synchronised automatically.
Add your Microsoft 365 email to the Apple Mail app on your iPhone or iPad to send, receive and organize emails.
1. Open the settings on your iPhone/iPad.
2. At the top of the tab search for the app Mail and open it.
3. Then click on Mail-Accounts.
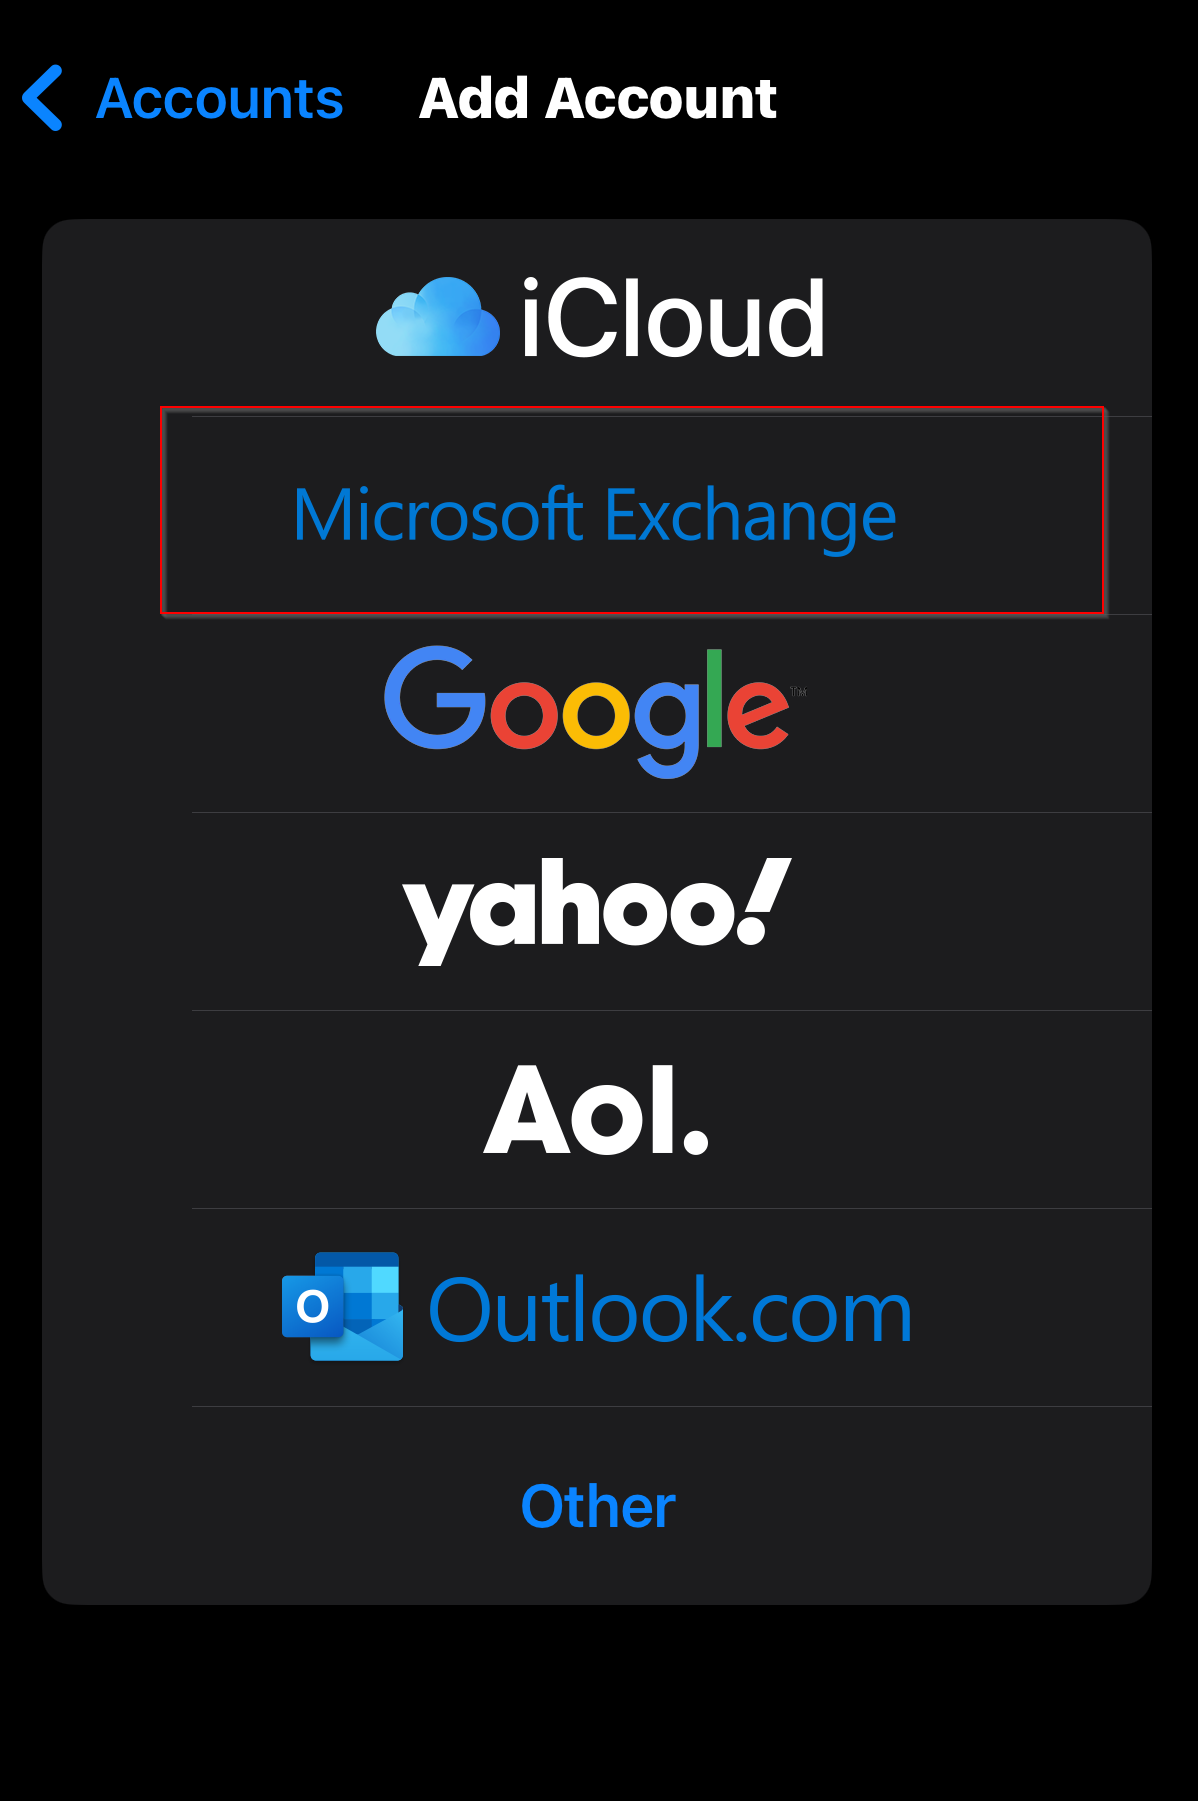
4. Choose Add account.
5. Choose Microsoft Exchange, as setup method:
Depending on the iOS-Version, you will be asked for your password or Face-ID.
6. On the next screen, enter your e-mail address and a short description (such as the name of your company or the type of e-mail) and then tap continue.
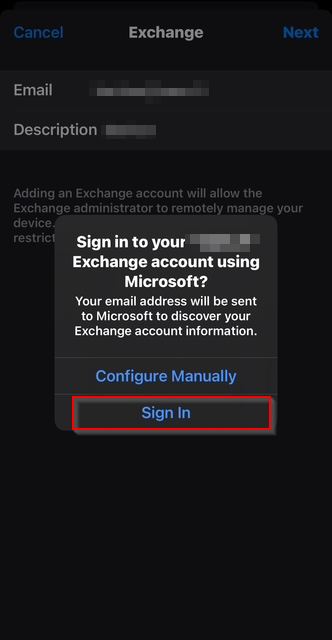
7. Confirm that you want to sign in to your Exchange account via Microsoft by tapping Sign in.
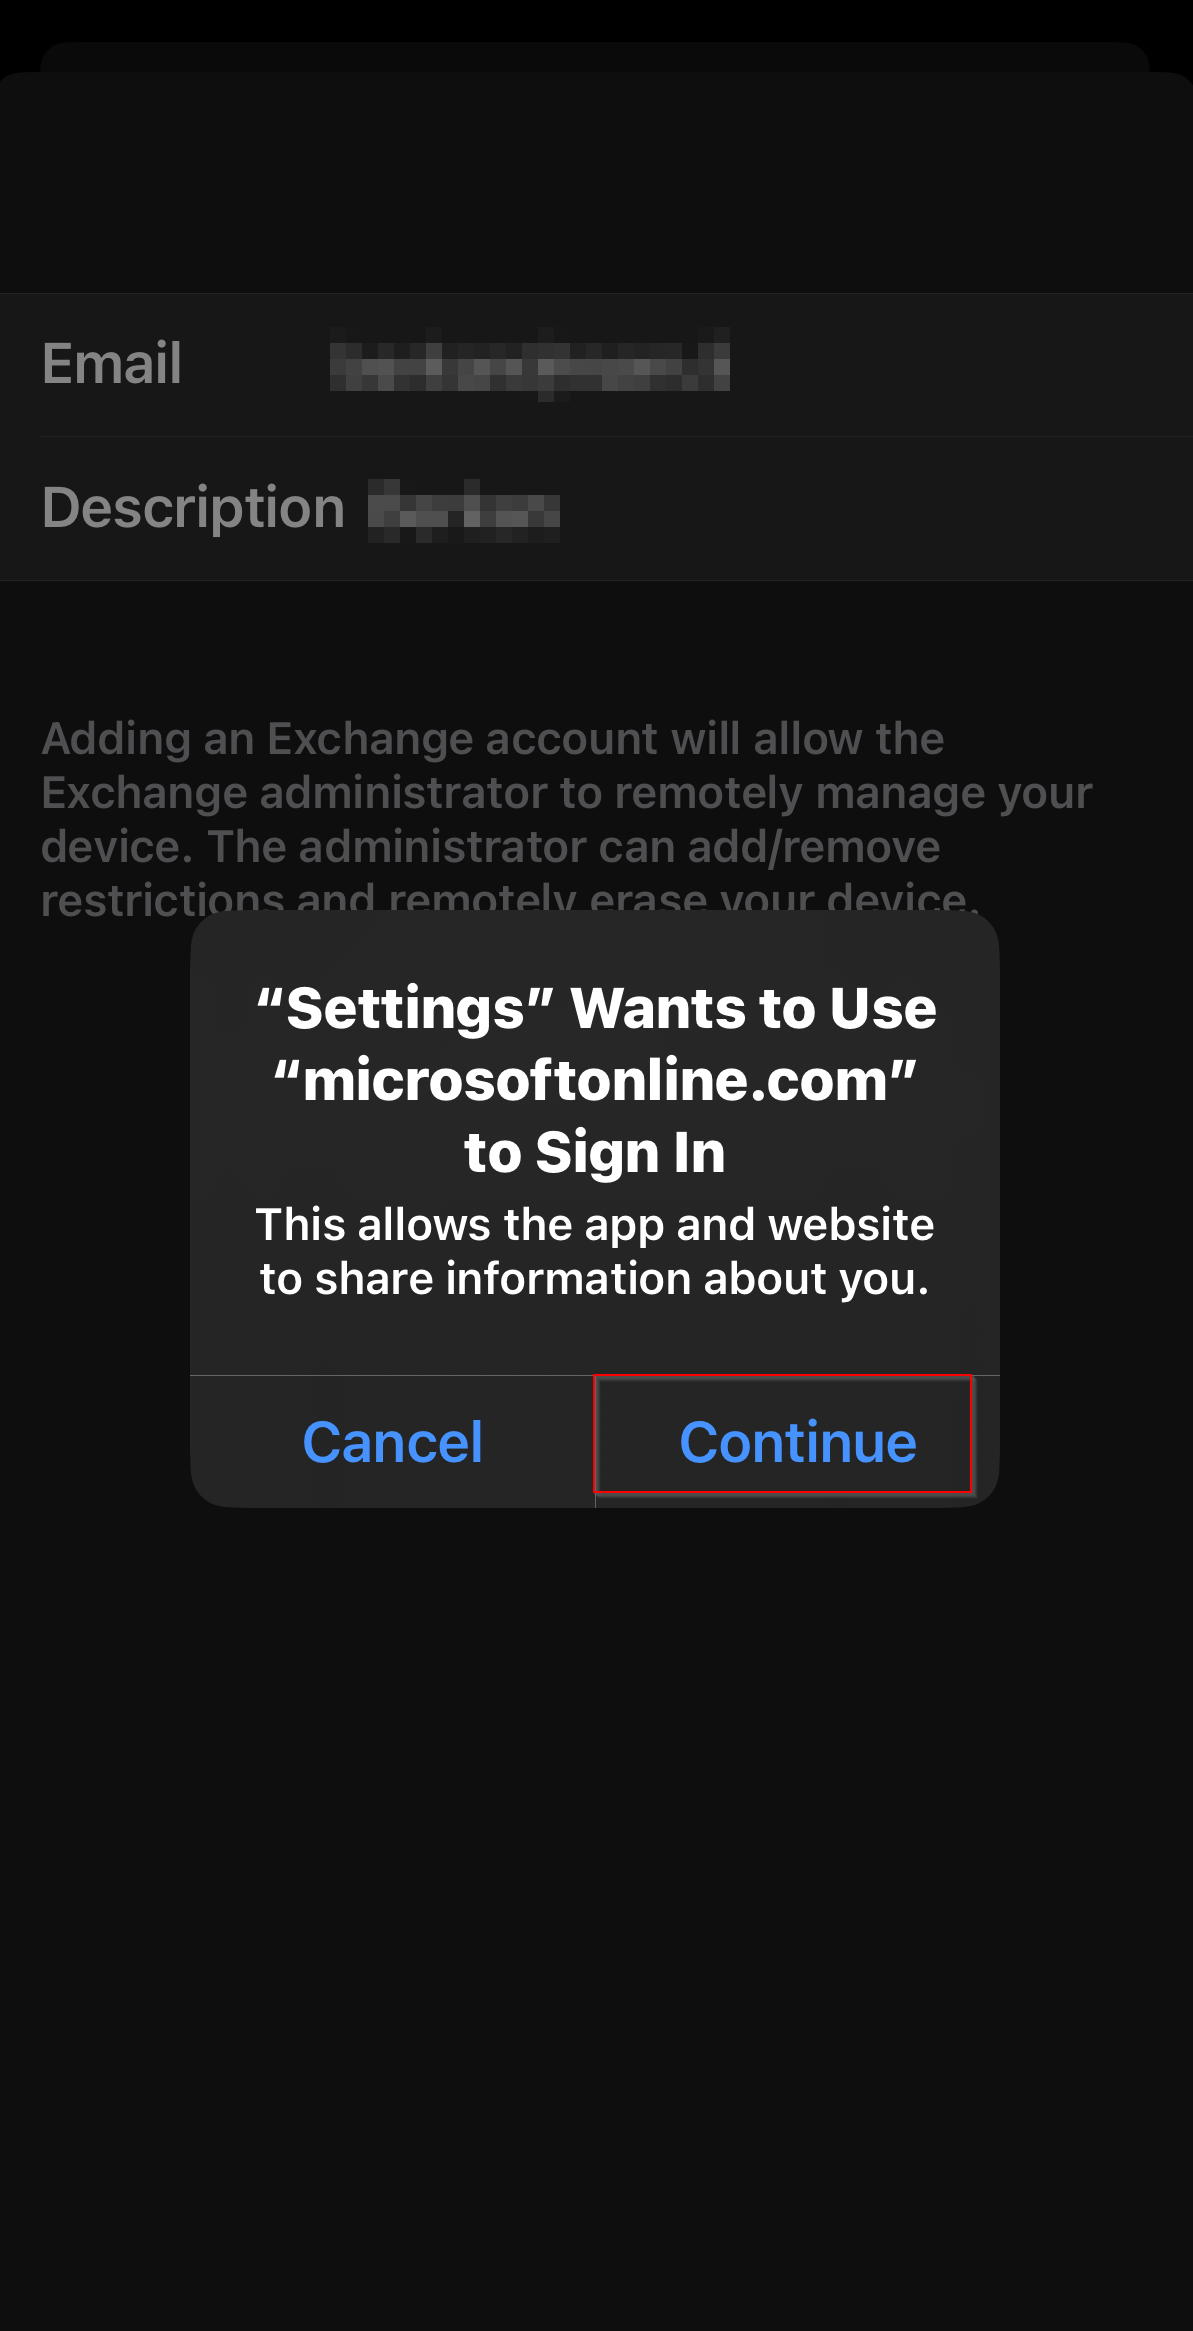
8. You will be asked whether the Settings app can log in to microsoftonline.com. Confirm this with Continue:
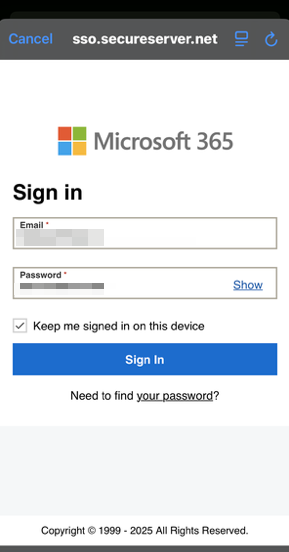
9. You will now be redirected to a Microsoft 365 screen. The e-mail address should already be pre-filled. Now enter your e-mail password and tap Sign in:
10. You may be asked to select ?Consent on behalf of your organization?, which allows Microsoft 365 and the Mail app to work together. Tap on Accept.
11. In case the Multi-Factor-Authentification (MFA) is active, verify your email account by setting up multi-factor authentication. This is set up directly at this point when setting up the email account in the email program. If you have already set up multi-factor authentication, you only need to enter the code from your Authenticator app at this point.
12. You will now be asked which apps should be connected to the account. Select the desired apps and click on Done.
Are you missing emails? Please check the synchronisation settings to see which time period is being synchronised. By default, only emails from the last 30 days are synchronised. You can adjust this time period in your iPhone settings. To do this, go back to the account settings for the account and click on ‘Synchronise Mail’ at the bottom. You can adjust the time period on the next page.
Done! Your Microsoft 365 is now shown under "Accounts" in your Apple Mail app.
Diese Artikel könnten Sie auch interessieren:
Wie kann ich die Absender-Angabe (Anzeigename) ändern?
Wie kann ich eine Multi-Faktor-Authentifizierungsmethode (MFA) einrichten?