Dieser Artikel richtet sich an Kunden mit einem cPanel Hosting Produkt.
Bei den cPanel Paketen gibt es zwei Möglichkeiten Wordpress zu installieren - den Installatron und die manuelle Installation. Beide Erläuterungen finden Sie in diesem Artikel.
Installation über den Installatron
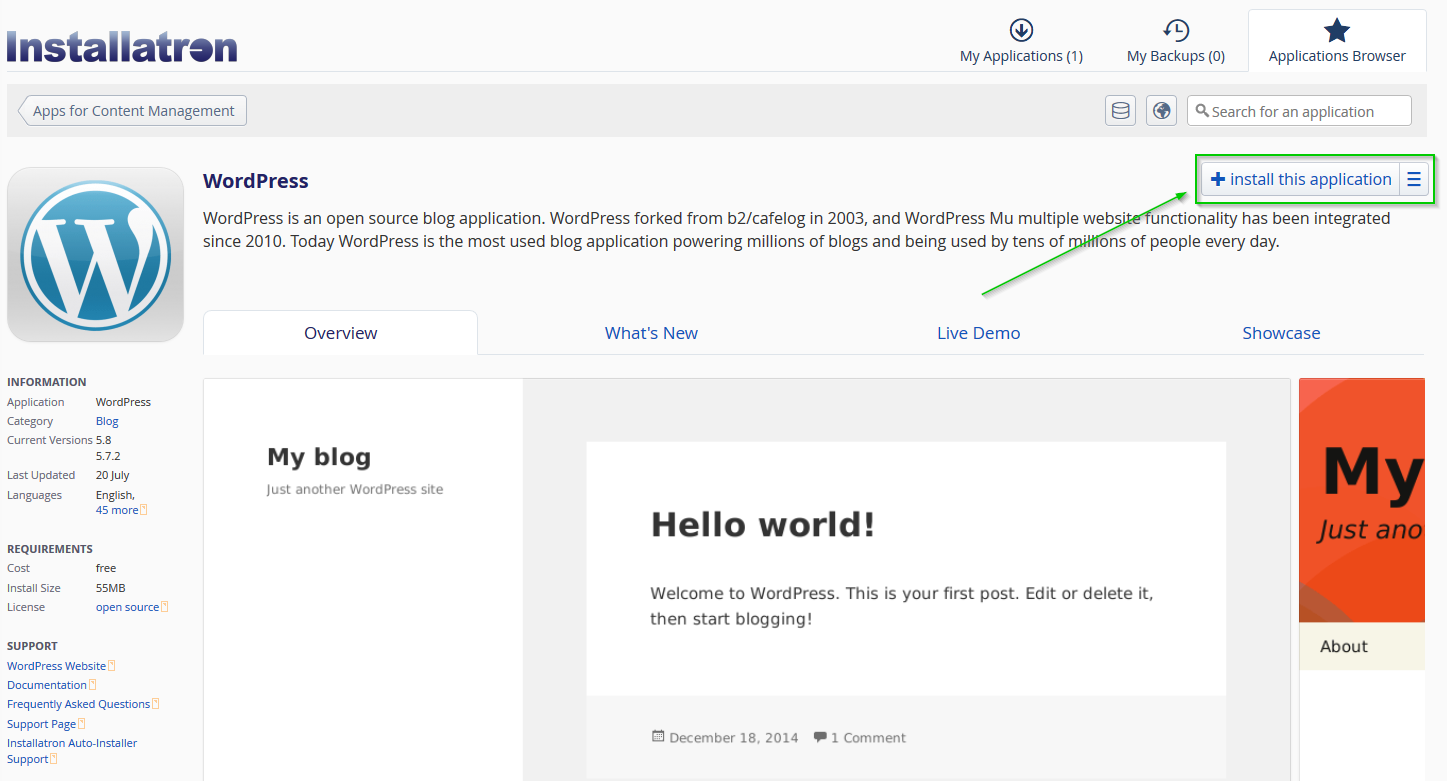
Im cPanel haben Sie die Möglichkeit den Installatron zu verwenden. Dieser bietet Ihnen eine Vielzahl von CMS an, unter anderem finden Sie hier auch Wordpress.
Sie finden den Installatron unter der Kategorie "Software".

Wählen Sie nun im nächsten Schritt Wordpress aus und klicken Sie rechts oben auf "Diese Applikation Installieren".

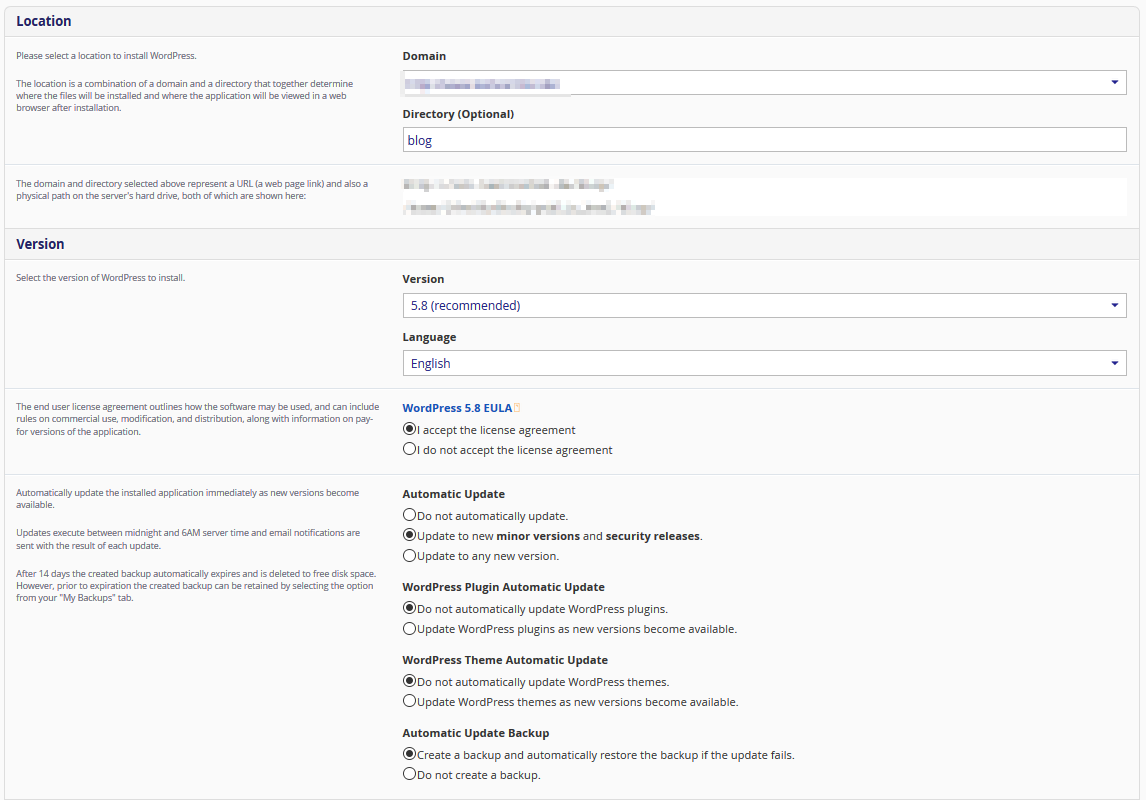
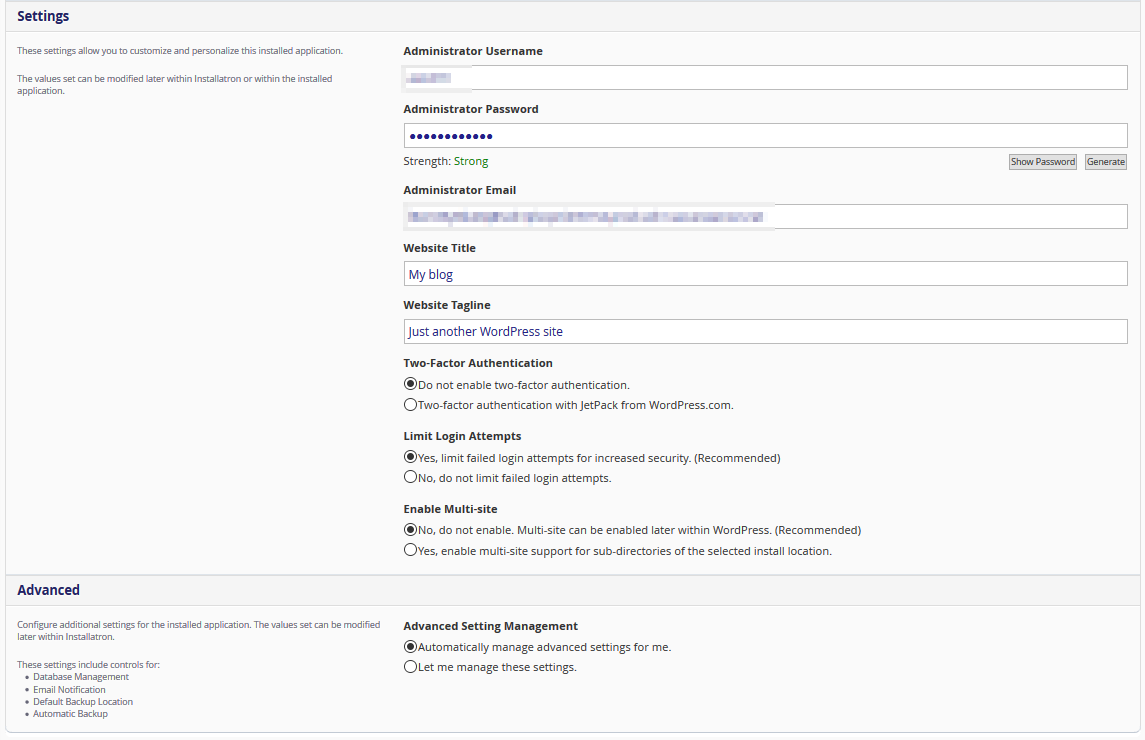
Im nächsten Schritt wählen Sie Ihre Domain aus die mit Wordpress Installiert werden soll und vergeben Sie Daten für den Login.
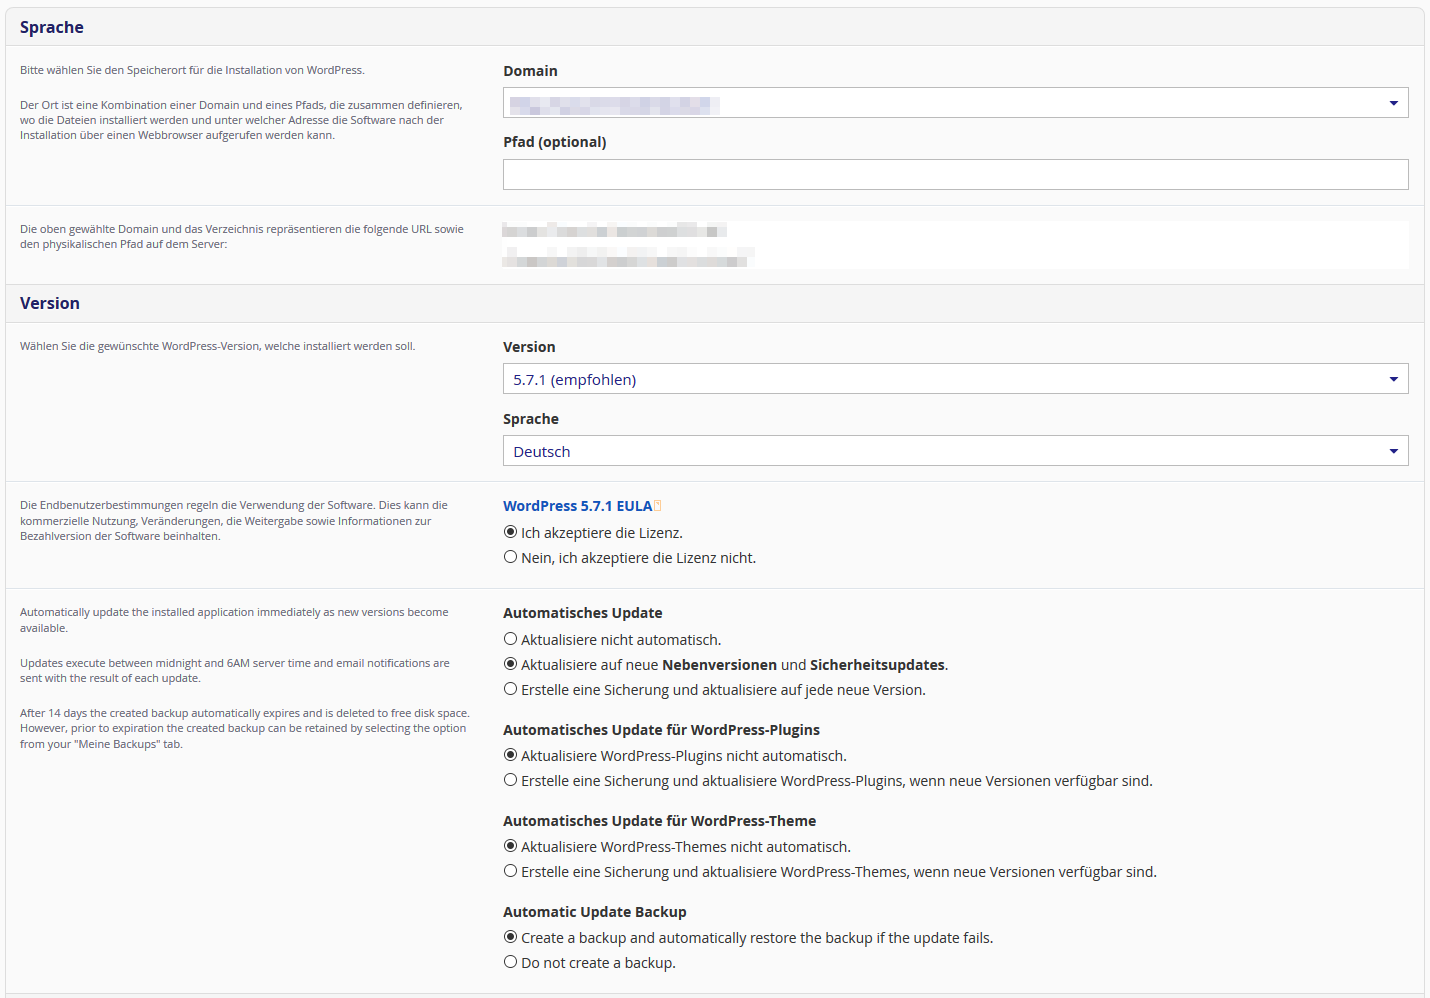
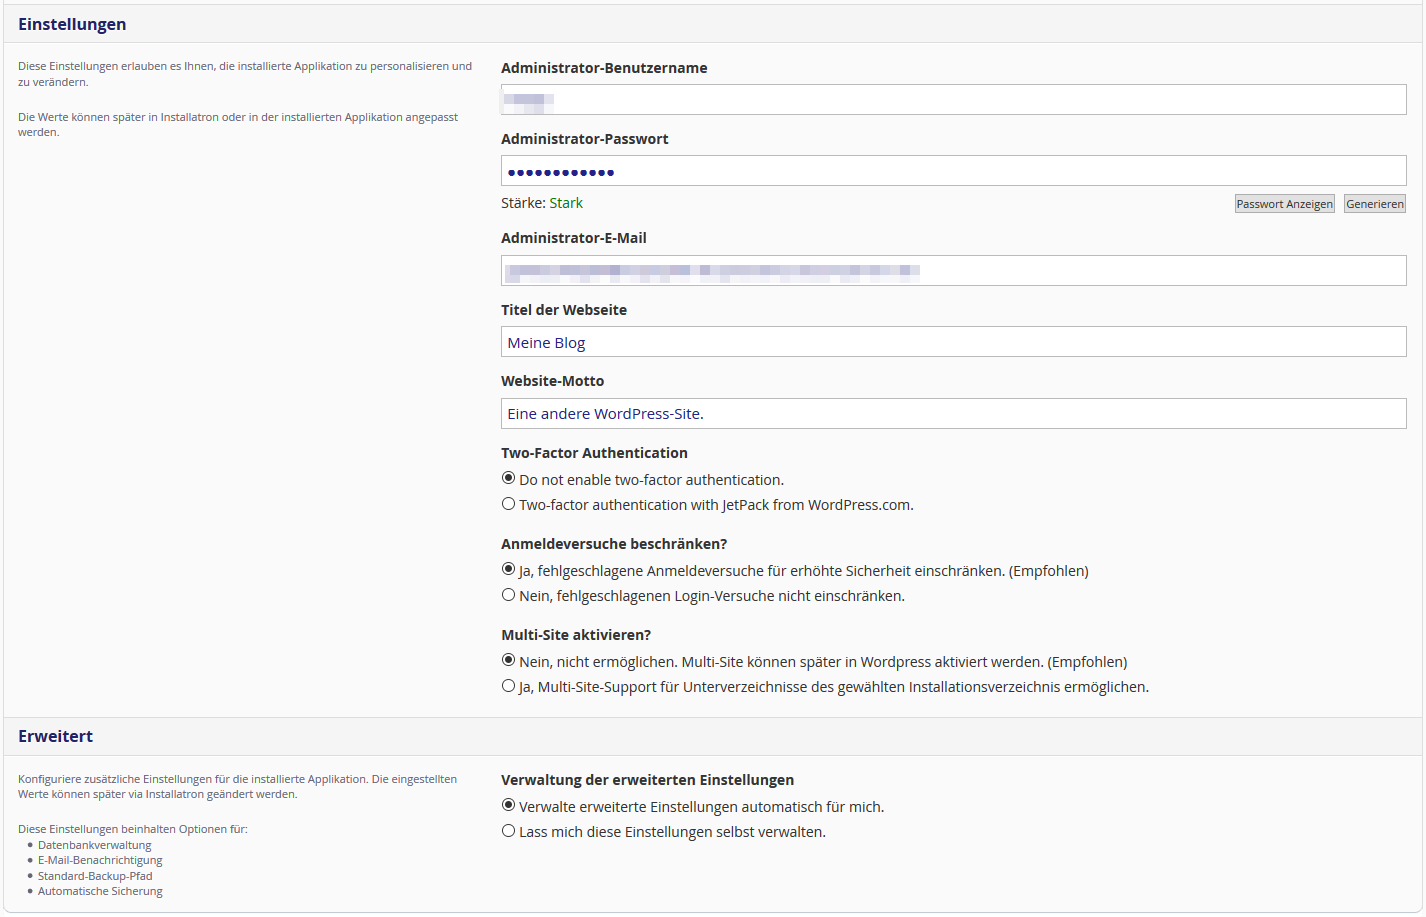
Schließen Sie nun die Installation ab und Wordpress wird für Sie installiert.
Manuelle Installation
Wenn Sie den Installatron nicht verwenden möchten, können Sie Wordpress aber auch manuell auf Ihrem cPanel Paket installieren.
- Laden Sie die WordPress Dateien herunter und entpacken Sie diese. Diese können Sie unter folgenden Link herunterladen: Wordpress.org
- FTP-Zugang anlegen und hochladen:
- Klicken Sie im cPanel auf FTP-Konto.
Hier können Sie ein neuen FTP-Zugang anlegen. Bitte merken Sie sich die FTP-Zugangsdaten, da diese benötigt werden, um sich auf den Webspace ein zu loggen. Beachten Sie, wenn Sie eine andere Domain als Ihre Primäre Domain auswählen, wird unter Verzeichnis diese Domain mit eingegeben. Dadurch gelangen Sie jedoch beim einloggen direkt in diesen Ordner. Damit Sie alle Ordner sehen, löschen Sie Ihren Domainnamen unter "Verzeichnis" raus. - Loggen Sie sich nun mit den eben angelegten Konto per FTP ein und laden die WordPress Dateien hoch. Bitte laden Sie nicht die ZIP-Datei, sondern die entpackten Dateien hoch. Bitte achten Sie hier auf den Ordner, in welchem Sie Wordpress hochladen möchten. Dieses Verzeichnis benötigen wir später, damit die Domain mit diesem verknüpft werden kann. Zusätzlich beachten Sie, das bei der Hauptdomain bzw. der primären Domain, der Pfad nicht angepasst werden kann. Falls Sie diese Domain verwenden möchten, müssen die Dateien in den Pfad /public_html hochgeladen werden.
- Klicken Sie im cPanel auf FTP-Konto.
- Datenbank anlegen:
- Klicken Sie im cPanel auf "Assistent für MySQL-Datenbank".
Geben Sie nun einen Datenbanknamen ein, einen Benutzernamen, sowie ein Passwort ein. Wählen Sie final auf der letzten Seite "Alle Berechtigungen" aus, sodass alle Optionen verfügbar sind. Bitte merken Sie sich die Datenbank-Zugangsdaten, da diese benötigt werden, um sich in die Datenbank/PHPMyAdmin ein zu loggen.
- Klicken Sie im cPanel auf "Assistent für MySQL-Datenbank".
- Pfad der Domain anpassen (Nur mit Addon-Domains möglich):
- Wählen Sie im cPanel "Add-on-Domains" aus.
Klicken Sie nun bei der Domain unter "Dokumentenstamm" auf das Stift-Symbol. Hier geben Sie das Verzeichnis an, in welchem Wordpress hochgeladen wurde. Bitte beachten Sie, dass Sie den Pfad für die primäre Domain nicht ändern können.
- Wählen Sie im cPanel "Add-on-Domains" aus.
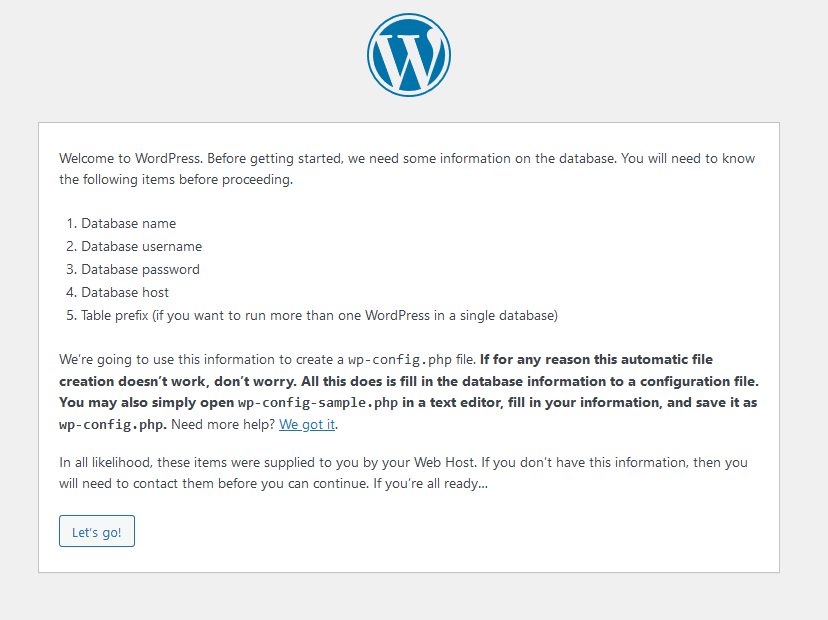
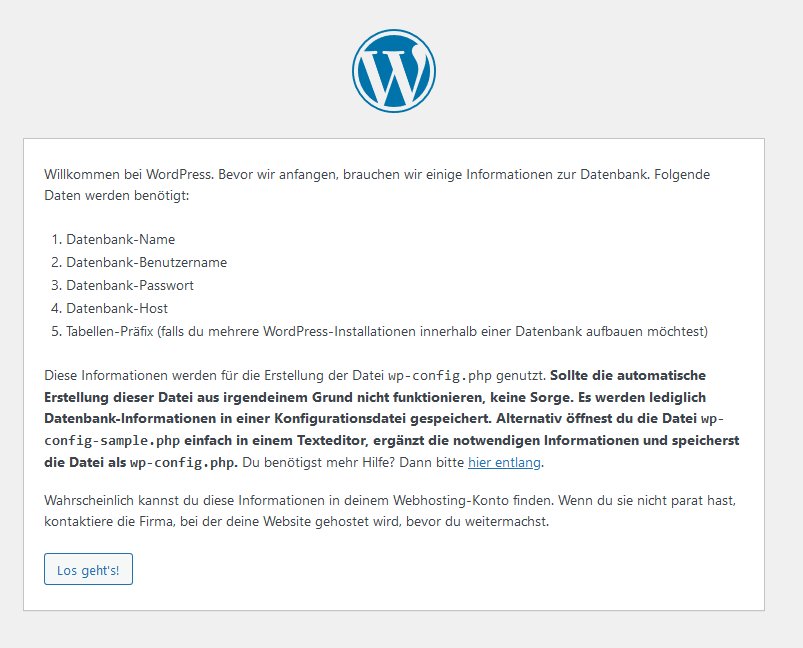
- Nun können Sie die Installation durchführen, indem Sie die Domain im Browser aufrufen, welche nun auf das Wordpress Verzeichnis verweist. Nun wird Ihnen die Installationsseite von Wordpress angezeigt. Geben Sie hier Ihre Datenbank-Daten ein, welche im Schritt 3 angelegt wurden. Bei Datenbank-Host soll weiterhin "localhost" stehen bleiben. Sobald die Datenbank Verbindung erfolgreich ist, können Sie Zugangsdaten und weitere Einstellungen für Wordpress vergeben. Diese können auch im Nachhinein im Wordpress Backend nochmals angepasst werden.
Sobald diese Daten erfolgreich eingetragen wurden, ist die Installation abgeschlossen und Sie können Wordpress direkt über das Backend konfigurieren. Der Aufruf des Backend wird über den Zusatz /wp-admin durchgeführt (Beispiel: "ihredomain.de/wp-admin").
English version:
This article is aimed at customers with a cPanel hosting product.
With the cPanel packages there are two ways to install Wordpress - the Installatron and the manual installation. You can find both explanations in this article.
Installation via the Installatron
You can use the Installatron in the cPanel. This offers you a variety of CMS, including Wordpress.
You will find the Installatron under the "Software" category.

In the next step, select Wordpress and click on "Install this application" in the top right corner.
In the next step, select your domain that is to be installed with Wordpress and assign data for the login.
Now complete the installation and Wordpress will be installed for you.
Manual installation
If you do not want to use the Installatron, you can also install Wordpress manually on your cPanel package.
- Download and unzip the WordPress files. You can download it from the following link: Wordpress.org
- Create and upload FTP access:
- In the cPanel click on FTP Account. Here you can create a new FTP account. Please make a note of the FTP access data, as these are required to log into the web space. Please note that if you select a domain other than your primary domain, this domain will also be entered under Directory. However, this will take you directly to this folder when you log in. In order to see all the folders, delete your domain name under "Directory".
- Now log in with the account you just created via FTP and upload the WordPress files. Please upload the unzipped files rather than the ZIP file. Please pay attention to the folder in which you want to upload Wordpress. We will need this directory later so that the domain can be linked to it. Please also note that the path cannot be adjusted for the main domain or the primary domain. If you want to use this domain, the files must be uploaded to the path /public_html.
- Create database:
- In the cPanel click on "MySQL Database Assistant". Now enter a database name, a user name and a password. Finally, on the last page, select "All Permissions" so that all options are available. Please make a note of the database access data, as these are required to log into the database/PHPMyAdmin.
- Adjust the path of the domain (only possible with add-on domains):
- Select "Add-on domains" in the cPanel. Now click on the pencil symbol for the domain under "Document base". Here you enter the directory in which Wordpress was uploaded. Please note that you cannot change the path for the primary domain.
- Now you can carry out the installation by calling up the domain in the browser, which now points to the Wordpress directory. You will now be shown the Wordpress installation page. Enter your database data here, which were created in step 3. "Localhost" should remain in the database host. As soon as the database connection is successful, you can assign access data and other settings for Wordpress. These can also be adjusted afterwards in the Wordpress backend. As soon as this data has been entered successfully, the installation is complete and you can configure Wordpress directly via the backend. The backend is called up using the addition /wp-admin (example: "yourdomain.de/wp-admin").